Digital Signage with Raspberry Pi
Unleash the true potential of electronic signage with Pickcel's Raspberry Pi digital signage software.

Why Use Raspberry Pi for Digital Signage?
Cost-Effective
The Raspberry Pi digital signage player has the lowest cost compared to other players. The basic model (Pi Zero) is priced at $35. More on Raspberry Pi price
Good Performance
The Raspberry Pi OS is incredibly efficient for commercial displays, especially for those that are configured to auto-activation. It has a high processing power.
Easy Accessibility
You can easily purchase a Raspberry Pi for your digital signage in almost any country as it is a widely popular hardware.
Multi-functional
The RasPi media player can be connected to additional devices with USB port. The new RPi model 4B can also power two displays at a time.
Required Raspberry Pi Accessories
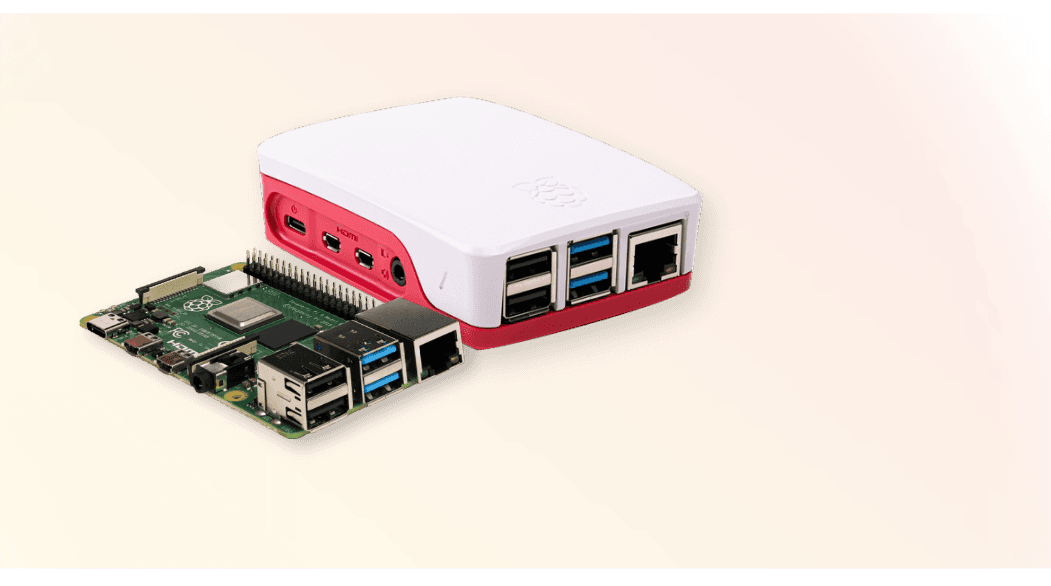
- Raspberry Pi 4 Model B
- Minimum of 8GB SD Card
- Desktop/Laptop (Windows, Linux, Mac)
- USB keyboard
- SD Card reader
- HDMI Cable
- Power adaptor
Steps to get started with Pickcel's Raspberry Pi Digital Signage Software
1. Prepare SD Card
Pickcel provides a pre-installed Raspberry Pi image file to be downloaded and installed on an SD card.
Download the IMG zip file (pickcel.img.gz).Download
Download the balenaEtcher tool from here and install this tool on your desktop. This tool is supported on Windows, MacOS and Linux also. .
Insert the SD Card into the SD Card reader (You may require an external USB SD card reader). Plug the SD Card into your System
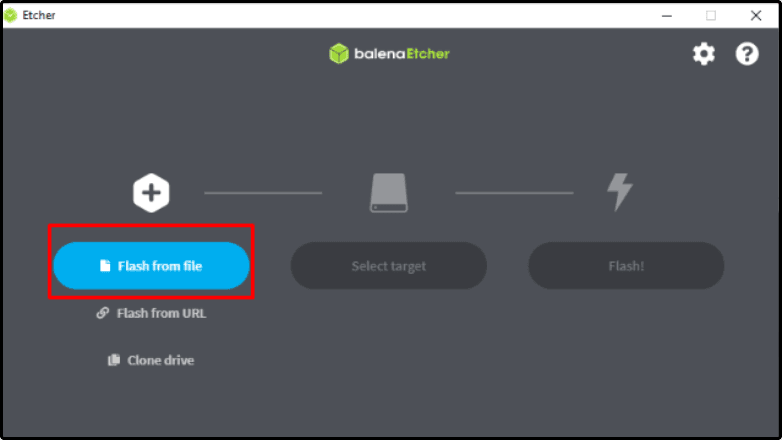
Launch the balenaEtcher App, Click on “Flash from file”, and select the downloaded pickcel.img.gz file.
Select SD Card as the target and click on Flash
Wait for the Flash to complete the process
2. Setup the Raspberry Pi on your digital signage screen / TV
Insert the SD card into your Raspberry Pi
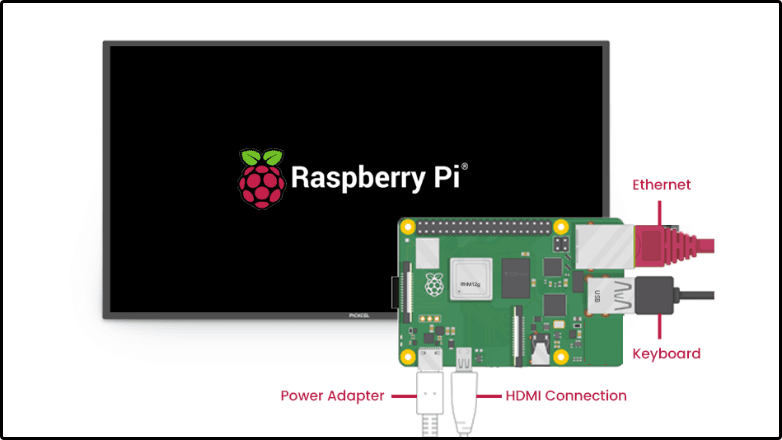
Connect the Raspberry Pi with the HDMI cable and Power adaptor
Connect your HDMI cable to the television/display HDMI port in with the HDMI cable and ensure that the right HDMI source is selected
Connect a USB keyboard on one of the USB ports of the Pi The keyboard is required for the first time only to configure the wifi network,
In case you have Ethernet connectivity with DHCP IP address and DNS setup, you may not require any configuration and hence may not require a USB keyboard.
Power on the Raspberry Pi.
You should see the boot logo of Raspberry Pi OS on your screen
On completion of the boot, the Pickcel apk would launch automatically
3. Connect to the Internet
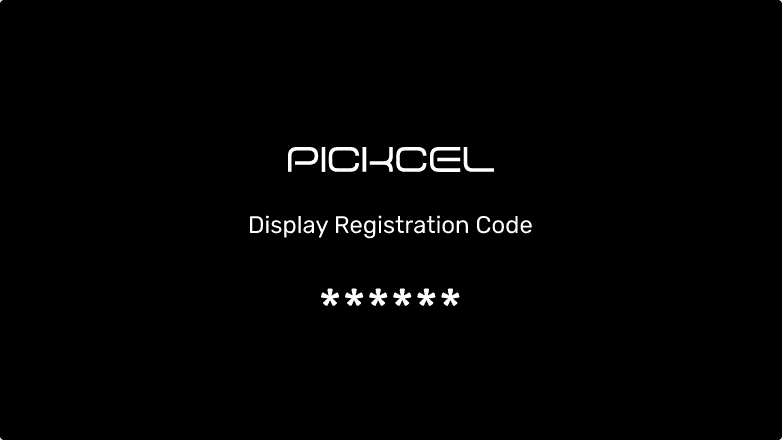
1. In case you have Ethernet connectivity with DHCP IP address and DNS setup, and If the Pi gets internet access over http/https (access to *.pickcel.com), you should see the Pickcel registration screen.
2. In this case, you may not require any configuration and skip the below step.
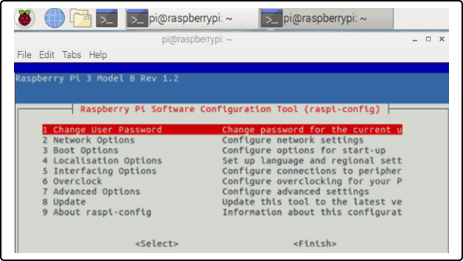
3. Once the boot is complete and you a see Pickcel app screen with no internet error, On your Keyboard use Ctrl + Shift + N to open raspi - config screen
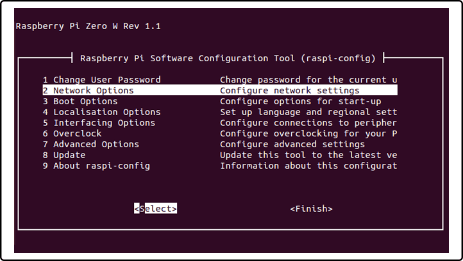
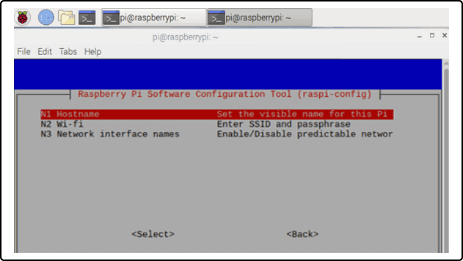
4. Select from the Network Options using arrow key of keyboard
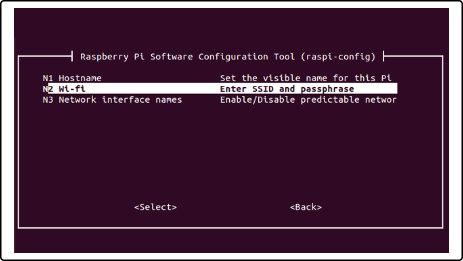
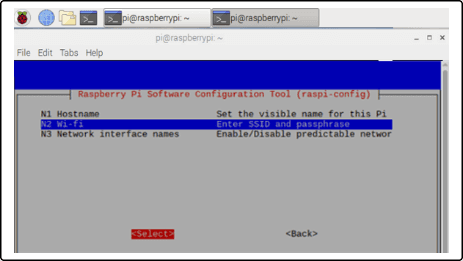
5. Select from the Wi-fi options
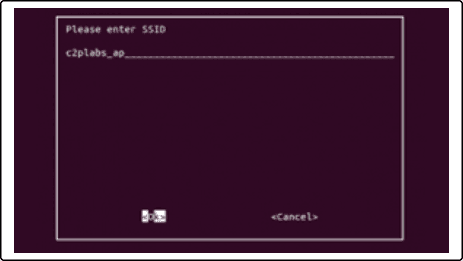
6. Type 'SSID' and press Enter
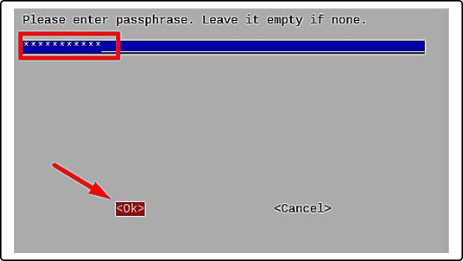
7. Enter the Passphrase (Password). Leave it empty if none. And, press Enter
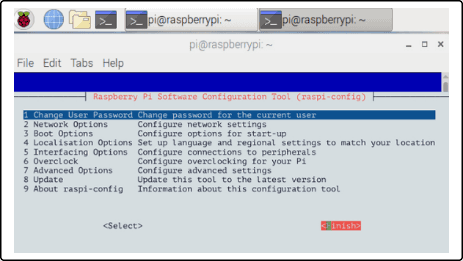
8. Click on 'Ok' and on raspi-config screen click on 'Finish'. This will restart the device and launch Pickcel automatically and display the Screen Registration code.
4. Register at Pickcel Console
Register/Login at console.pickcel.com.
After network configuration, if the Raspberry Pi OS gets internet access and can connect to the Pickcel cloud, you will be able to see the Pickcel display registration screen.
Add the display by following these steps.
For further guide refer to the Pickcel knowledge base.
Industries That are Powered by Raspberry Pi Digital Signage Solution
We at Pickcel cater to our clients' diverse requirements and create custom-made Raspberry Pi digital signage software.

Retail
With Raspberry Pi digital signage, you can launch new products or promote the existing ones. It is the best way to increase customer engagement and experience.
DOOH (Digital Out-Of-Home)
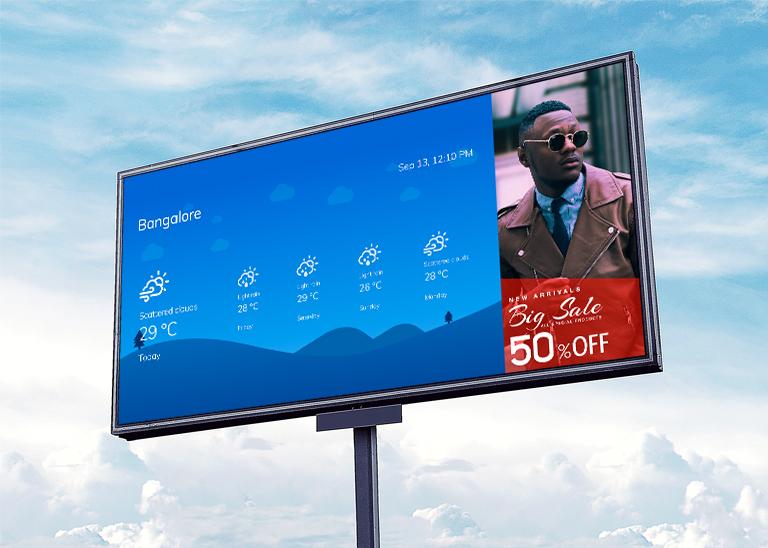
With Raspberry Pi digital signage, it's easy to run ad campaigns on multiple screens. It's a lucrative way to promote your business and boost your DOOH efforts.

Corporate Communication
Raspberry Pi digital signage improves connection and engagement among employees, which in turn boosts work output and helps you retain your most valuable assets.

Impressive Apps & Widgets to Keep Your Digital Signage Up-to-date
Get real-time, relevant, informative and beautiful contents with Pickcel digital signage Apps.
It's time for you to get a demo!


