Dec 24 2025
10 min read

October 13, 2025
7 min read


ALL
GENERAL
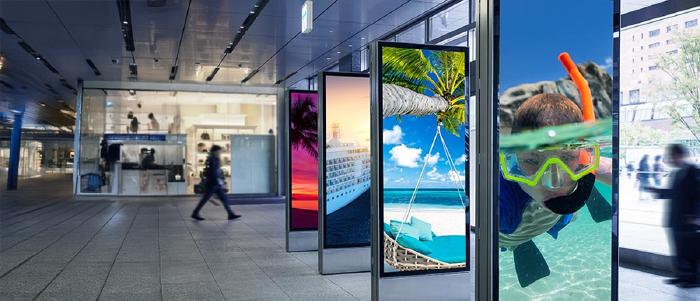
Open a browser. Enter a code. Push your content live. That’s the promise of browser-based digital signage software.
At its core, browser-based systems replace the old external digital signage player with a lightweight web player that runs inside your device’s browser. Your smart TV, PC, or tablet is enough to go live.
What separates a good solution from a great one comes down to execution. The right digital signage software should make setup intuitive, support diverse content formats, and enable real-time scheduling across locations.
With a lightweight player powering each screen, enterprise-grade digital signage security protecting your network, and a centralised CMS keeping everything organised, the best platforms deliver simplicity for SMBs and scalability for global enterprises alike.
The world’s most recognisable brands are already using this approach to balance local flexibility with central control.
Decathlon: 200+ stores worldwide needed a balance between local promotions and central brand control.
Second Cup Coffee: 1,100+ franchise outlets across multiple countries needed menus that allowed local customisation without losing brand identity.
Magnolia Bakery: Internationally recognised brand with multiple outlets in India, required consistent branding across all stores using existing Samsung Tizen displays.
Now, let’s break down exactly how to set up browser-based digital signage in minutes.
For: Leaders in multi-location retail, QSR, corporate, and education sectors who need a fast, scalable way to launch digital signage using existing smart TVs and browsers without relying on complex hardware or vendor-heavy setups.
The process is simple, requires no technical expertise, and can be broken down into seven clear steps. This process eliminates the complex setup of on-premise digital signage and the constant babysitting of traditional systems, giving you a powerful, scalable, and easy-to-manage solution.
Before you even touch a screen, you need a plan. Rushing in without a clear purpose can lead to an ineffective setup.
Define Your Goal: What’s the mission of your new screen? Is it a digital menu board, an internal communications tool, or a retail ad display? Knowing your goal helps you select the right content and location.
Know Your Audience: Who are you talking to? Employees, customers, or students? Tailor your message to resonate with them.
Pick Your Platform: Choose a browser-based digital signage software that offers a user-friendly interface, a rich template library, and a clear pricing model. Many platforms, like Pickcel, offer free trials, allowing you to test the system with zero commitment.
You can use a device you already own, which is a key advantage over expensive, dedicated systems.
Select a Compatible Display: Your existing smart TV is often the ideal choice, as its built-in browser and internet connectivity make it an all-in-one solution. You can also use a standard PC or tablet.
Consider a Low-Cost Player: For a non-smart screen, an affordable digital signage player like an Amazon Fire TV Stick or a Raspberry Pi can get the job done.
Ensure a Stable Network: A reliable internet connection is the backbone of the system. While some platforms offer offline playback, you need a stable connection for real-time updates.

This step is always done on your work computer, not the display screen itself.
Visit the Provider’s Website: Navigate to the signup page of your chosen platform.
Register: Create an account. Many platforms offer quick onboarding through a Google or Facebook account.
Log In to Your Dashboard: Once registered, log in to your centralised, web-based dashboard. This is your hub for all screens, content, and schedules.

It’s a quick, two-part process that connects your physical display to your cloud account.
On Your Display: Open the web browser on your smart TV or PC. Navigate to the specific web player URL provided by your software provider. The screen will then display a unique pairing code.
On Your Computer: Go to your CMS dashboard, find the “Add Screen” or “Monitors” section, and enter the code from your display. Your screen is now securely linked to your account.

With your screen paired, you can now manage its content remotely from your dashboard.
Upload Your Media: Upload your existing files, images, videos, and documents to the media library.
Use Templates and Apps: Most platforms provide a library of professionally designed templates. You can also integrate apps to display dynamic content like social media feeds, live news, and real-time data dashboards from tools like Power BI.
Design from Scratch: Use the platform’s drag-and-drop editor to create custom layouts.

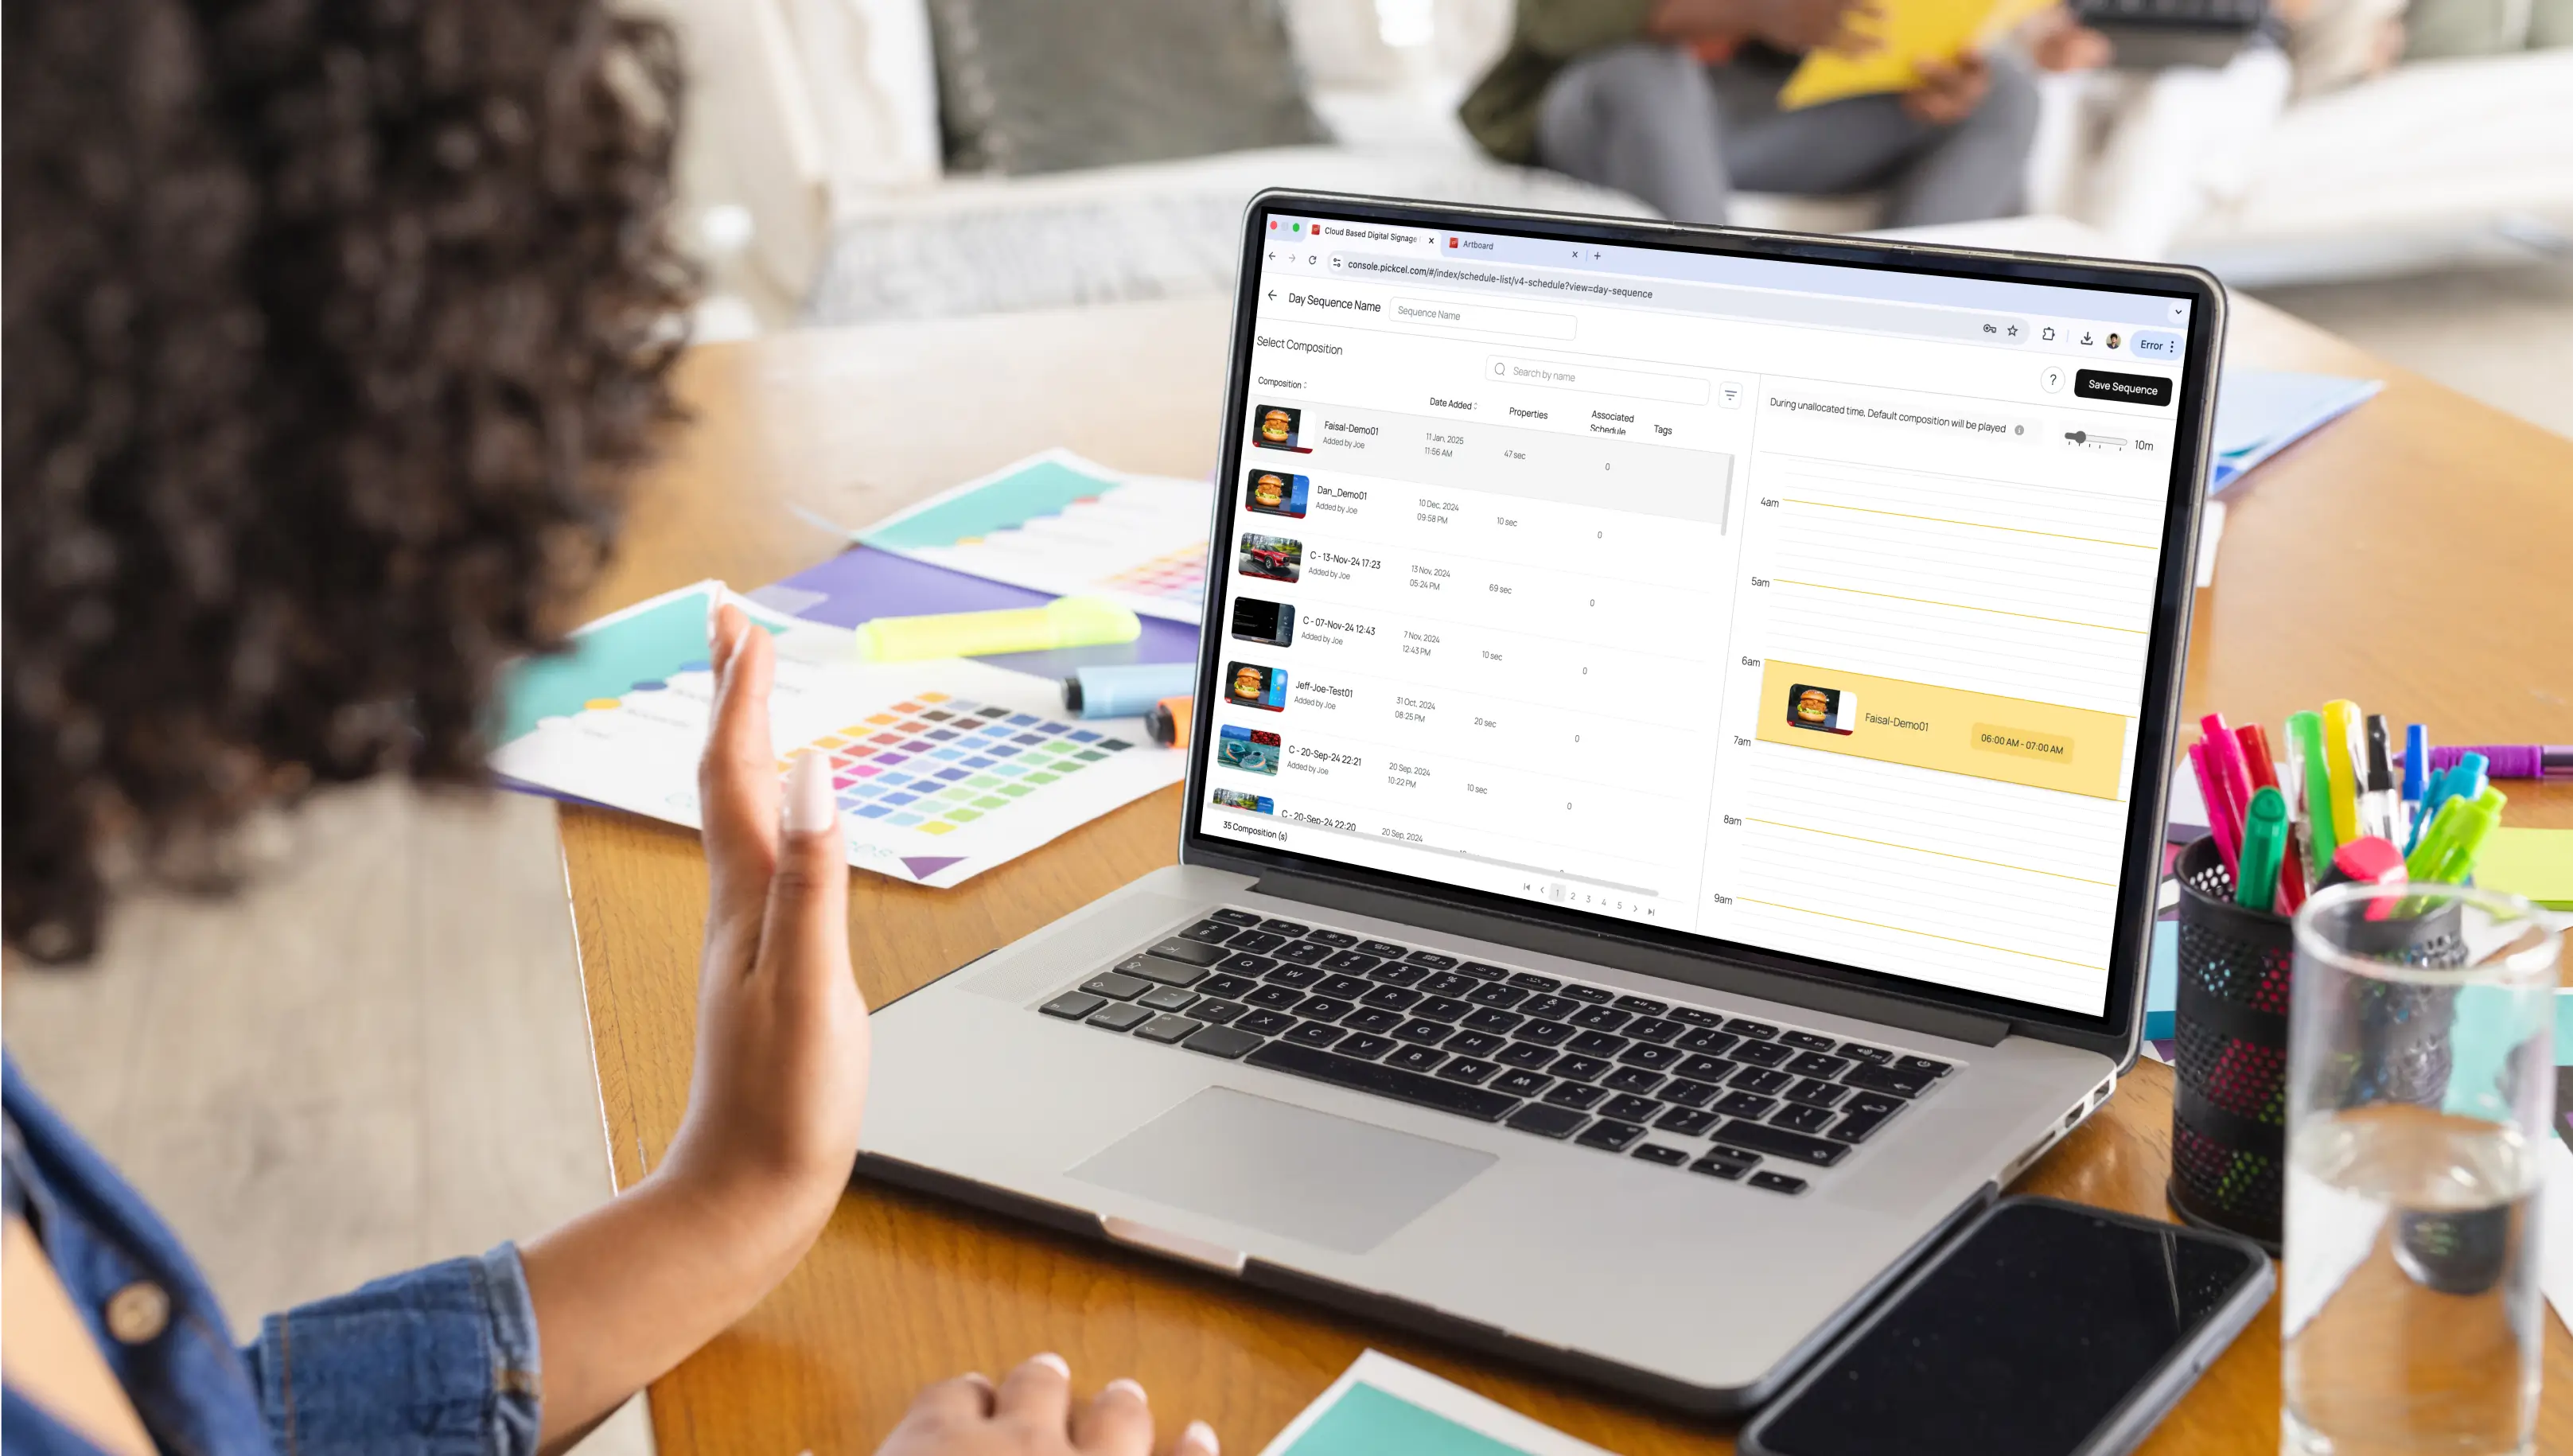
The final step is to orchestrate what content plays and when.
Create Playlists: Organise your content into playlists.
Set a Schedule: Use the CMS scheduling tool to assign specific playlists to play at certain times of the day or week.
Push to Players: Assign your content to the screen and click “Save”. Your browser-based digital signage software will send the instructions to the display, and your content will go live automatically within moments.
The benefits are clear: lower upfront costs, updates you can push instantly from anywhere, centralised control, and the flexibility to scale as your business grows.
But here’s the catch: those benefits only stick if you avoid the common mistakes:
Skipping the strategy and launching without clear goals.
Ignoring audience needs and pushing content that doesn’t resonate.
Relying on a shaky internet or screens left in sleep mode.
Failing to prioritise digital signage security leaves your system vulnerable.
You need digital signage software that’s built from the ground up to solve these problems. Pickcel bridges the gap. It’s a platform built on three core pillars:
Simple,
Safe,
Scalable.
In practice, Pickcel takes care of the hard parts and translates its core pillars into practical features businesses can rely on every day.
Zero-hassle deployment: From a smart TV in your cafe to a video wall in your HQ, you’re live in minutes.
Flexible & hardware-agnostic: Works with Android boxes, Fire TV sticks, Samsung Tizen, LG WebOS, and more, so you don’t have to rip and replace your existing setup.
Enterprise-grade trust: With SOC2 and ISO 27001 certifications, Pickcel doesn’t just promise digital signage security; it proves it.
Scale on your terms: Whether you’re running one screen or 100,000, the same dashboard gives you complete control without added complexity.

Yes, most modern browsers like Chrome, Edge, Firefox, and Safari support it. For best performance, providers usually recommend Chromium-based browsers. Older or restricted browsers may have limitations with autoplay or real-time updates.
You don’t need specialised hardware. A smart TV, PC, tablet, or low-cost device like a Fire TV Stick or Raspberry Pi works fine. Just ensure the device runs a modern browser and has stable internet access.
Screens connect to a cloud dashboard via a unique URL or pairing code. Once linked, you can upload media, create playlists, and push updates instantly from anywhere. All displays sync automatically with scheduled or real-time content.
Yes, but risks are manageable. Use secure passwords, HTTPS connections, and role-based access. Reputable platforms add encryption, fallback modes, and regular updates. Physical device security and reliable networks further minimise threats.

Dec 24 2025
10 min read
Dec 9 2025
14 min read

Nov 26 2025
7 min read
Nov 7 2025
11 min read
Take complete control of what you show on your digital signage & how you show it.
Start Free Trial Schedule My Demo